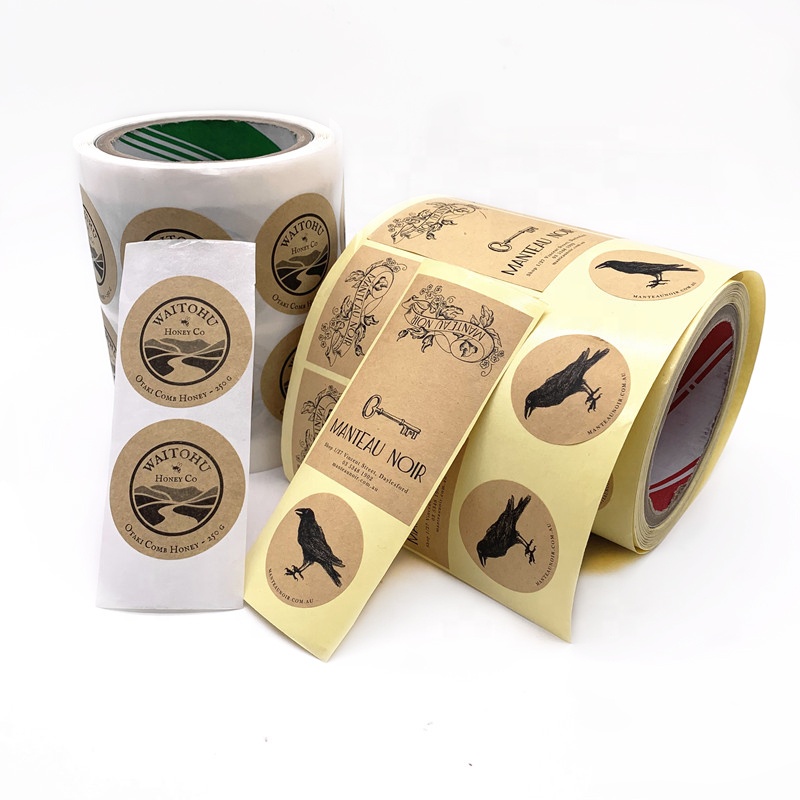
To add beauty to randomly looking items the custom paper stickers are the best choice. They can be made by using several easily available materials. But all of the choices affect the ultimate cost. They are available in different shapes and sizes. And also in varieties of different dyes. They are the most commonly used item by different people for different purposes. For academics, they are utilized for mainly any crafty projects, whereas the corporates use them as their brand logo markers. They are easily accessible at many stores, from where you can directly purchase them. But if you want a unique tag, you can easily make one at home by using the readily available things.
We all love decorations. As in this way, we can refurbish our ordinary-looking items. We can use custom paper stickers to either revamp or to differentiate ourselves from others. Although they are small in size, still they help a lot to beautify the whole appearance. They are getting used by almost everyone for different purposes. For example, youngsters mostly can use them for their artwork. But they can also be used by companies for their advertisement purposes. Many Brands are preferring them because they are a more cost-effective source of promotion as compared to others, as they can easily be made by anyone. If you also want to use them for any reason you can start making them by yourself. The following are the step by step instructions for their making:
Outline them:
To make your design, you will only need a led pencil, an eraser, and plain paper. Now visualize what you want your sticker to look like. There is no limit for designing which can confuse you to decide a certain thing. So at first make your mind about a specific object, a sign or any symbol that you want for custom paper stickers.After you identified your idea then start sketching it on paper. You can make multiple alterations by erasing and improving your framework. Try making multiple amendments into a simple object so that you can come up with a new and interesting idea. Once you have mastered your draft, then make a neat diagram on another paper as a final copy.
Paint them:
What adds beauty to any simple looking object is their beautiful colors. You have multiple coloring options for your paper stickers printing.For instance, you can either use color pencils, crayons or even liquid paints. To help you choose an option, at first decide what shape you want for your sticker. Because all of these options demonstrate different shades. You also have a choice to make a unique shade outcome by mixing different dyes. You can also make your sticker more unique by doing a color gradient technique. Although it is a bit tricky at first but with few practices you can grab your skills in it. After the selection, start your coloring process on your final draft.
Cutting:
After you have completed your shading, the next step is to cut the vinyl paper for stickers.You can either use a pair of scissors or paper cutter knife. But be very careful in using them as a little stroke can damage the whole sign. For this reason, you should practice using them on different papers. Once you are confident about their usage technique, then start doing it by taking out a bigger margin of your creative. In this way, you can do a few trimmings to get to your final outline.
Fixative:
After you have the final shape of your label, you can glue it on the blank side so that you can start pasting it. In case, you do not want to use the shop glue, you can make one by yourself by using domestic things. To make a paste, you will need, a teaspoon of plain gelatin and a teaspoon of boiled water. Add gelatin in the boiling water to make a sticky gum. Do not let it cool because it will be adhesive once it gets into the normal room temperature. When it gets bearable, apply on the back of the stickers with the help of either brush or a finger.
Paste it:
And the final step is to stick your very own printed Paper Stickers. You can place them anywhere you like. Put the glued side on to the surface. And with the help of either a brush’s back or even spoon, rub it so that it can secure its pasting. Let the label completely dry before exposing it outside. And there you have your very own DIY label.
If you want to speed up your display process, you can order these tags from many online websites. They make your product in your defined budget. They offer a wide range of different and creative designs as per your requirements. They also offer their free online services of designed templates, which you can use to create your own idea. In this way, you can have a touch of personalization in your output. And they also offer free services of shipping and transportation for their bulk orders. So, go ahead and order them to fasten your working.